Paper Christmas Wreath – Poinsettia Inspired Dahlia
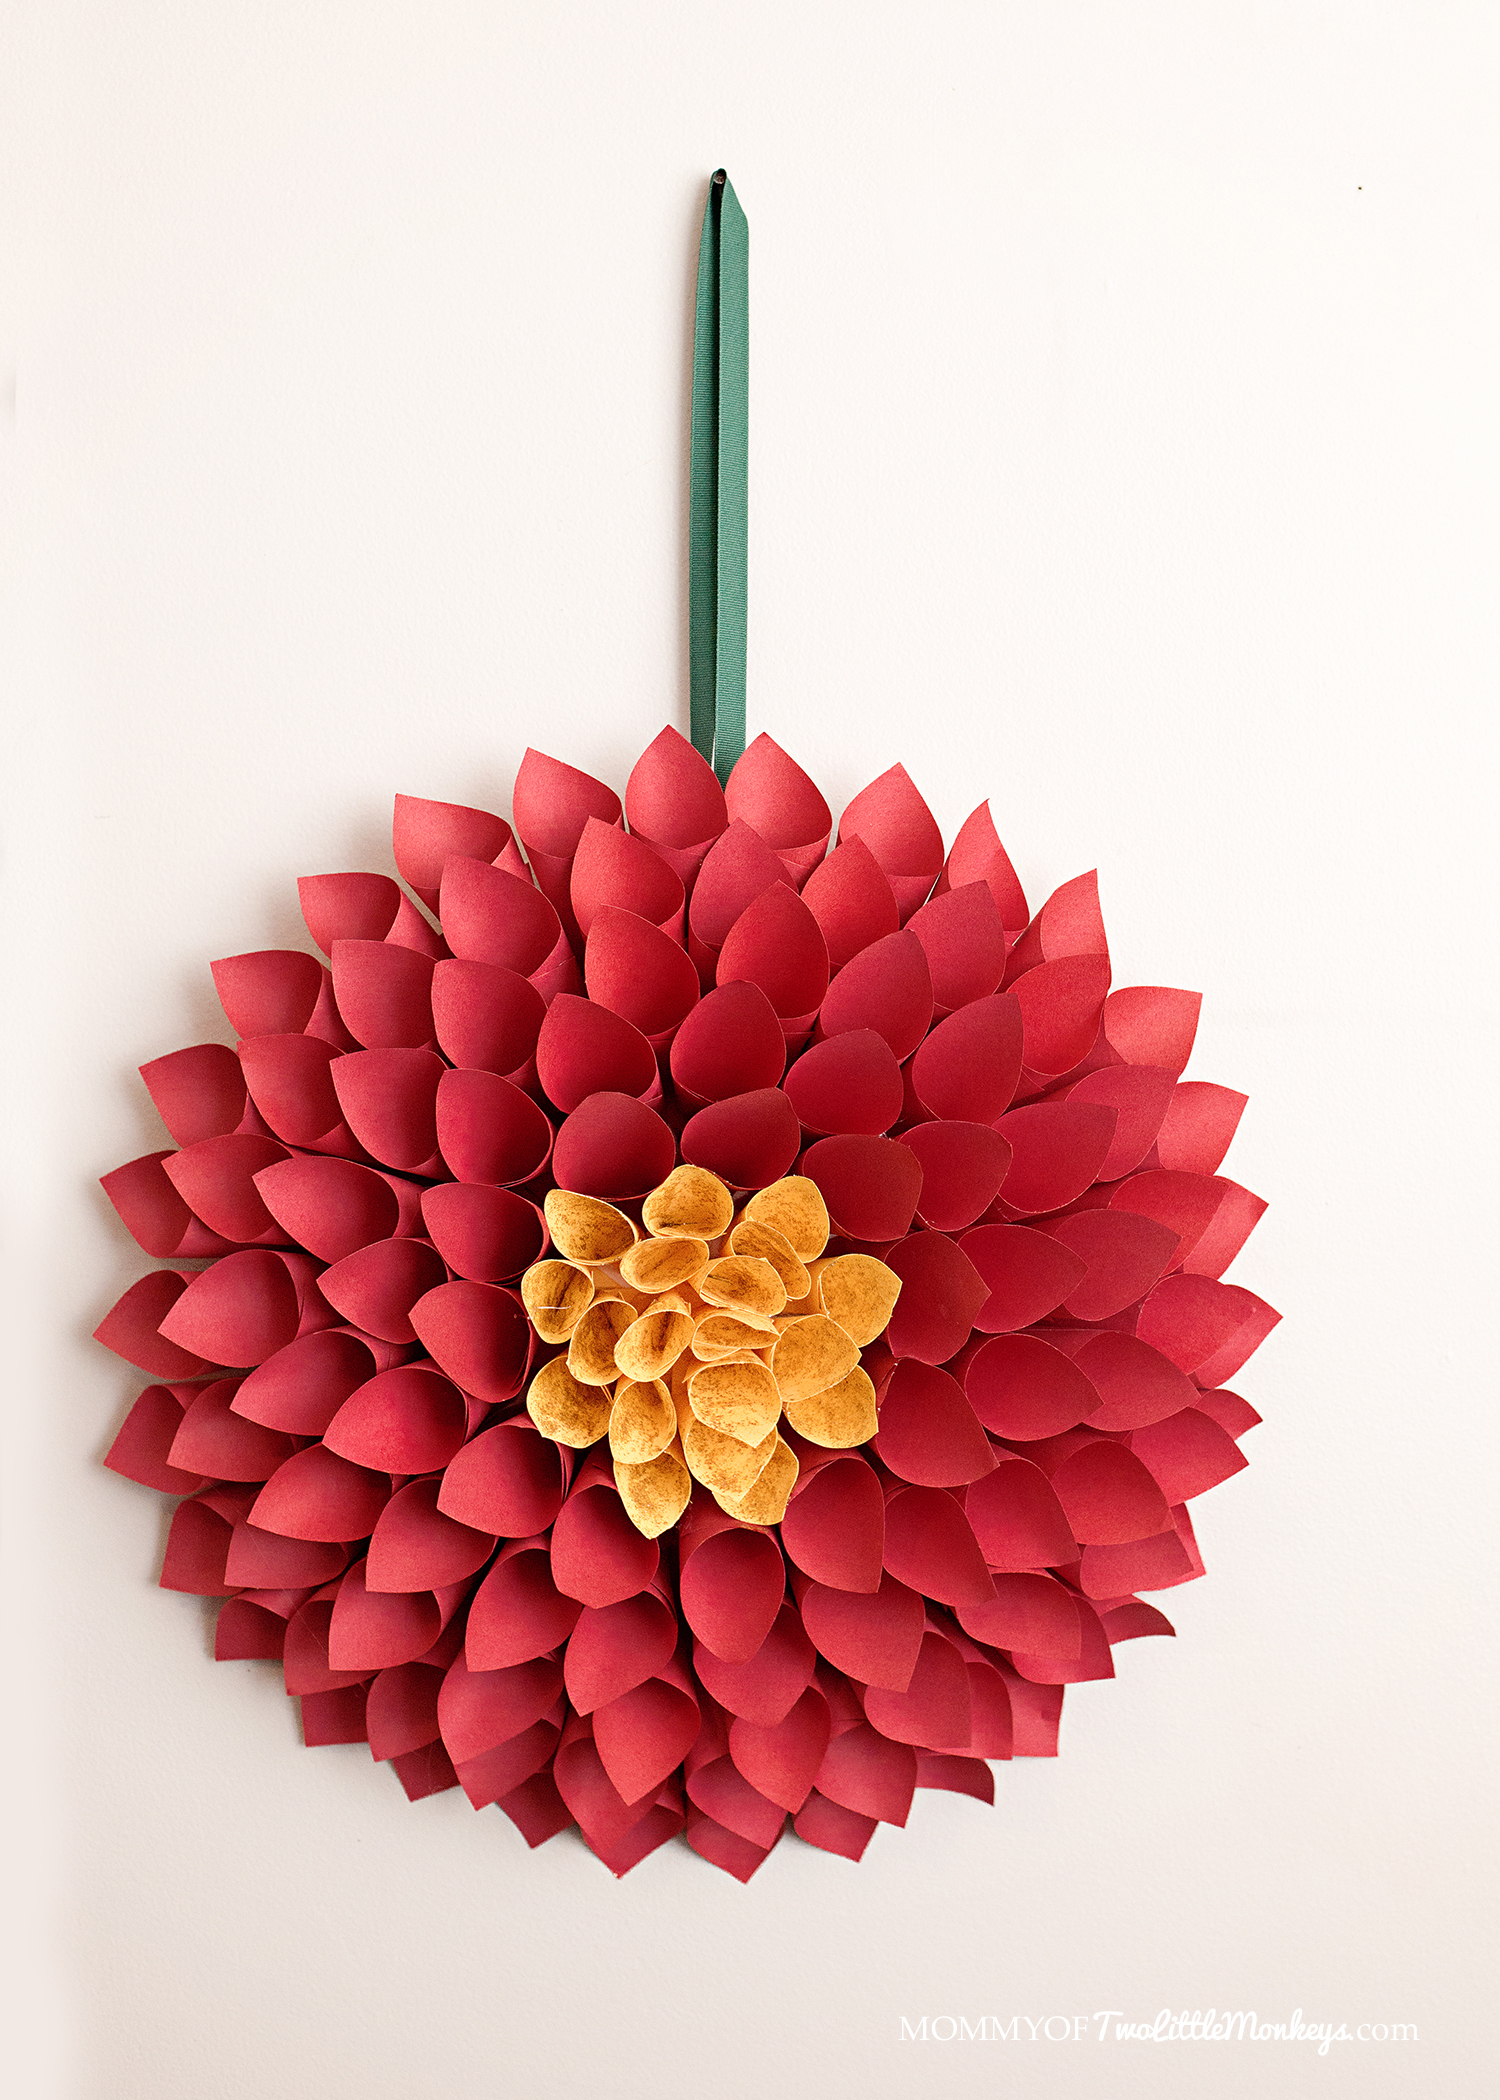
The holiday season is here, and homes everywhere are transforming into cozy, festive spaces filled with holiday cheer. One of my favorite ways to bring that festive spirit into my home is with DIY decorations that are not only beautiful but also budget-friendly. This poinsettia-inspired paper Christmas wreath is the perfect addition to your holiday decor.
Earlier this year, I created a paper dahlia wreath for spring, and it was a massive hit. Visitors raved about how elegant it looked, and I loved seeing the photos of wreaths people made after trying the tutorial. Now that winter is here, I thought, why not give this project a holiday twist? The poinsettia, a quintessential Christmas flower, was the perfect inspiration for this stunning paper Christmas wreath.
Why You’ll Love This DIY Wreath
- Budget-Friendly: Made with simple materials like construction paper and cardboard, this project won’t break the bank.
- Customizable: You can choose different colors or add embellishments to suit your holiday decor.
- Festive Charm: The wreath’s poinsettia-inspired design adds a warm, seasonal touch to any room.
- Fun to Make: This is a great project to do with family or friends as you prepare for the holidays.
Materials Needed
- Red and yellow construction paper (or cardstock for a sturdier look)
- Hot glue gun and glue sticks
- Gold glitter glue
- A piece of cardboard (or a paper plate for a circular base)
- Scissors or a paper cutter (a paper cutter is faster and provides cleaner lines)
- Compass Protractor
Instructions
Prepare the Wreath Base
-
- Use the compass to draw a 6-inch diameter circle on the cardboard and cut out the circle. On that 6 inch circle that you just cut out, draw a circle inside with a 4-inch diameter. This 4 inch line is where you will glue your petals.
Cut the Paper Squares
-
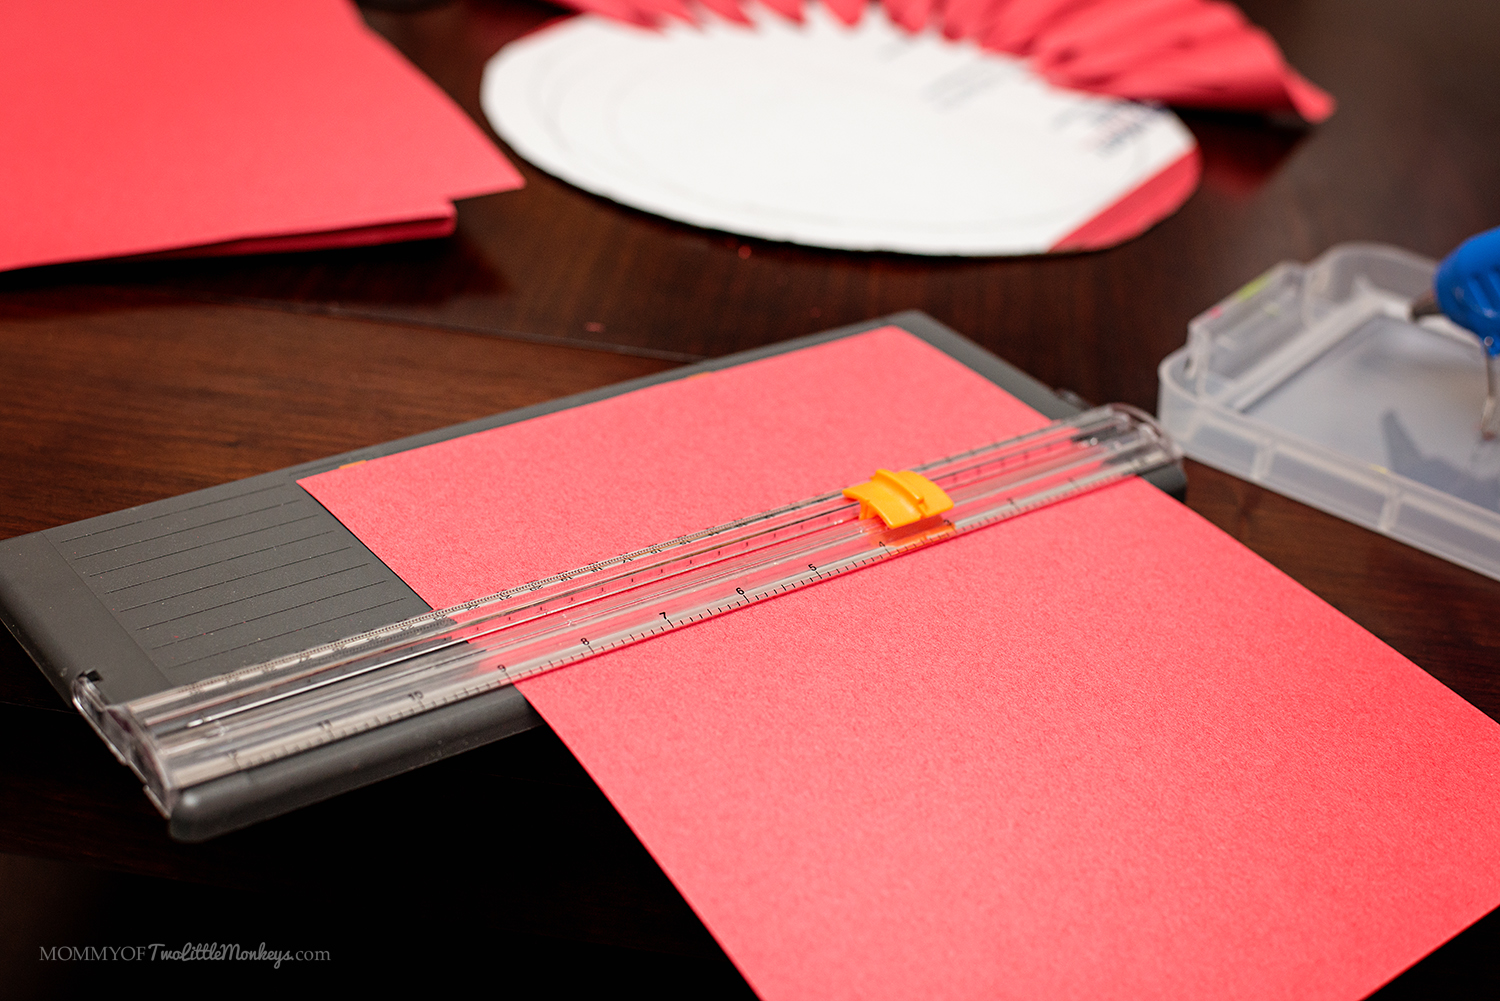
- Cut the red paper into 4×4-inch squares for the poinsettia petals.
- Cut the yellow paper into 3×3-inch squares for the flower center.
- You’ll need about 80 red squares and 20 yellow squares, depending on the tightness of your cones.
Make the Cones
-
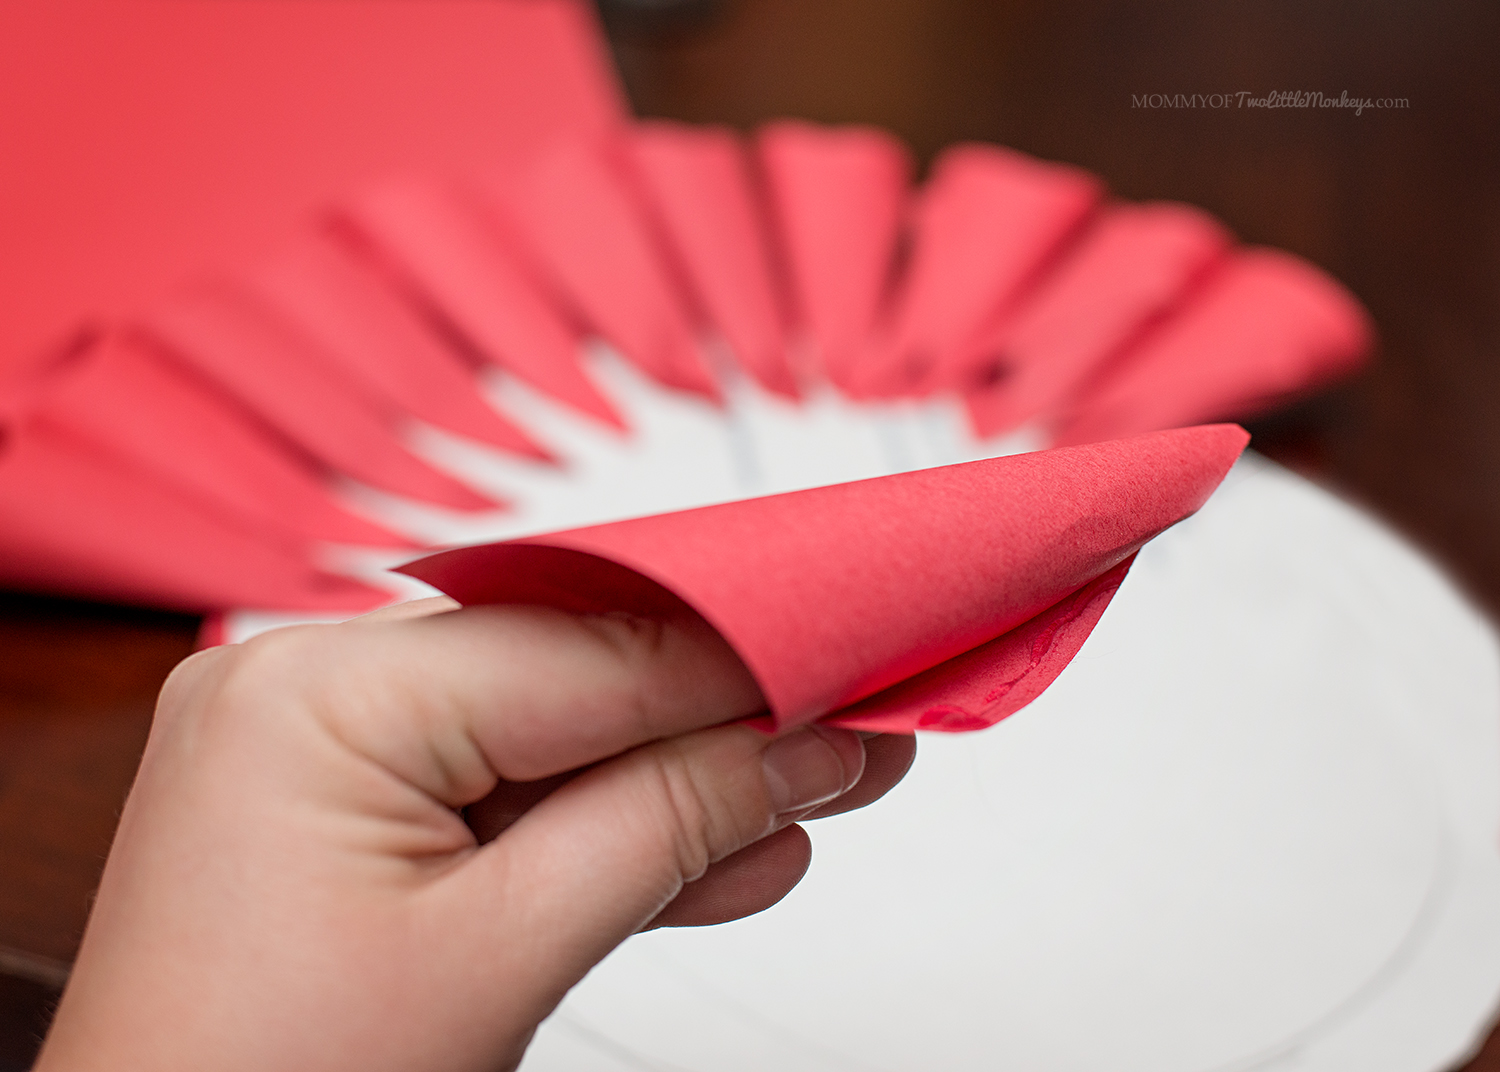
- Roll each square into a cone shape, keeping the top open and the bottom closed.
- Use the hot glue gun to secure the seam so the cone holds its shape.
Attach the Cones
-
- Start with the red cones. Pinch the bottom of each cone flat, and glue it along the 4-inch inner circle of the cardboard base. Leave a small gap (about a finger’s width) between each cone.
- For the second row, place cones in the spaces between the cones in the first row, creating a layered effect.
- Continue adding rows until the entire base is filled, working toward the center.
Create the Center
-
- Use the yellow cones to fill the center of the wreath. Because the yellow cones are smaller, they’ll create a dimensional look.
Add Finishing Touches
-
- Use a small paintbrush to apply gold glitter glue to the yellow cones. This mimics the small yellow Cyathea in real poinsettias and adds a festive sparkle.

Tips for Making a Perfect Paper Christmas Wreath
- Use Sturdy Paper: Construction paper works well, but cardstock can add extra durability, especially if you plan to hang your wreath outdoors.
- Work in Sections: Attach cones in smaller sections to ensure even spacing and alignment.
- Get Creative with Colors: While red and yellow are traditional poinsettia colors, you can use white, green, or gold paper for a unique twist.
- Secure Your Wreath: Use a sturdy hook or ribbon to hang your wreath, ensuring it stays in place throughout the holiday season.
- Personalize It: Add embellishments like faux berries, ribbons, or small ornaments for an extra festive touch.
Love This Christmas Wreath? Check Out My Spring Dahlia Paper Wreath!
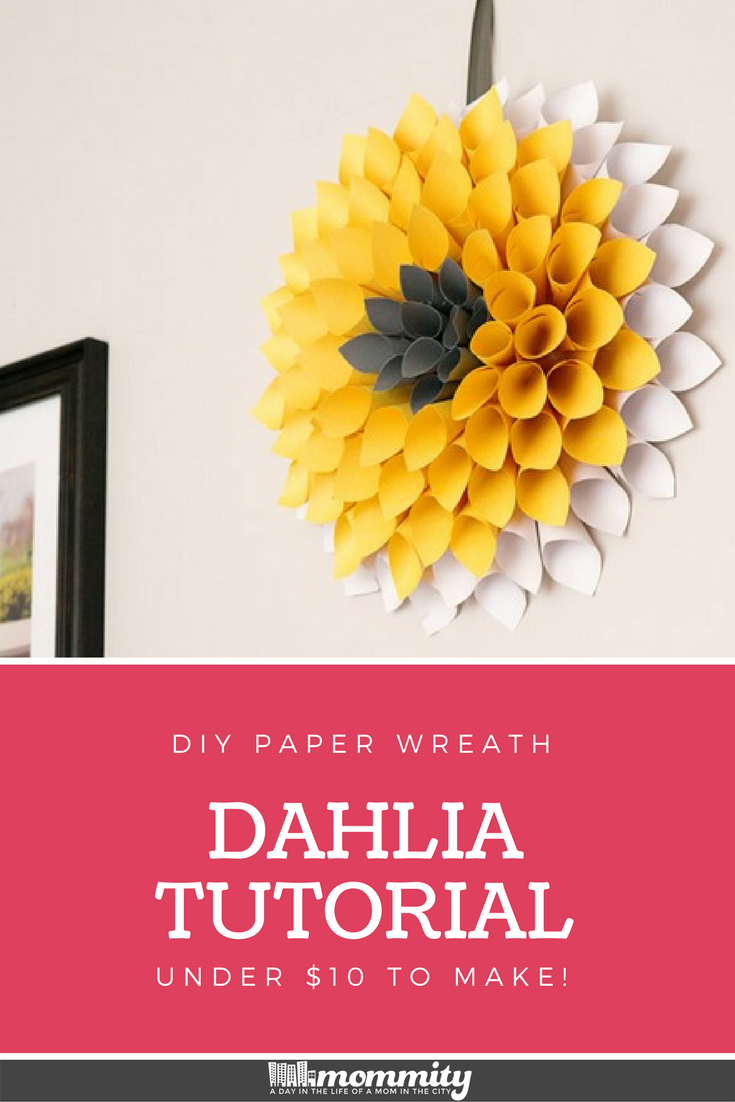
If you enjoyed making this poinsettia-inspired Christmas wreath, you’ll love my springtime dahlia paper wreath! Inspired by the beauty of blooming flowers in the spring, this wreath is just as easy to create and brings a fresh, vibrant touch to your home decor.

DIY Paper Christmas Wreath Recipe Card
Ingredients
- Red construction paper (80 4x4-inch squares)
- Yellow construction paper (20 3x3-inch squares)
- Cardboard (or a paper plate for the base)
- Hot glue gun and glue sticks
- Gold glitter glue
- Scissors or a paper cutter
- Compass Protractor
Instructions
- Use the compass to draw a 6-inch diameter circle on the cardboard and cut out the circle. On that 6 inch circle that you just cut out, draw a circle inside with a 4-inch diameter. This 4 inch line is where you will glue your petals.
- Cut red paper into 4x4-inch squares and yellow paper into 3x3-inch squares.
- Roll each square into a cone shape, glue the seam, and flatten the bottom.
- Glue red cones around the inner circle of the base, leaving small gaps between each.Continue layering cones until the base is covered, working toward the center.
- Use yellow cones for the center, gluing them tightly together to create a dimensional effect.
- Paint gold glitter glue on the yellow cones for a festive finishing touch.
Discover more from Mommity
Subscribe to get the latest posts sent to your email.


It’s beautiful. But could stiff felt be used instead of paper to make it able to withstand the indirect outdoor Northern weather?
Hi Sharon! It may be a little harder to manipulate, but don’t see why you couldn’t. Let me know how it turns out!
can I make this using deco mesh?
Pingback: Christmas Wreaths: 30 DIY Christmas wreath ideas you can make
Pingback: DIY Decorating for the Holidays on a Budget | Pinterest Inspirations
This is absolutely beautiful!
Pingback: Paper Dahlia Wreath Tutorial for Spring (Under $10 to Make)! -